
Advertisements
The Ultimate Rucking Workout Guide: Everything I Learned the Hard Way
Here’s a stat that honestly blew my mind — rucking burns up to three times more calories than regular walking at the same pace. Three times! I stumbled into rucking about two years ago when a buddy from my gym casually suggested I “just throw some weight in a backpack and walk.” Sounded too simple to actually work, right? Well, I was dead wrong, and now it’s basically become my favorite form of exercise.
Whether you’re a complete beginner or someone looking to level up their cardio game, this rucking workout guide is gonna save you from the dumb mistakes I made. Trust me, there were plenty.
What Even Is Rucking?
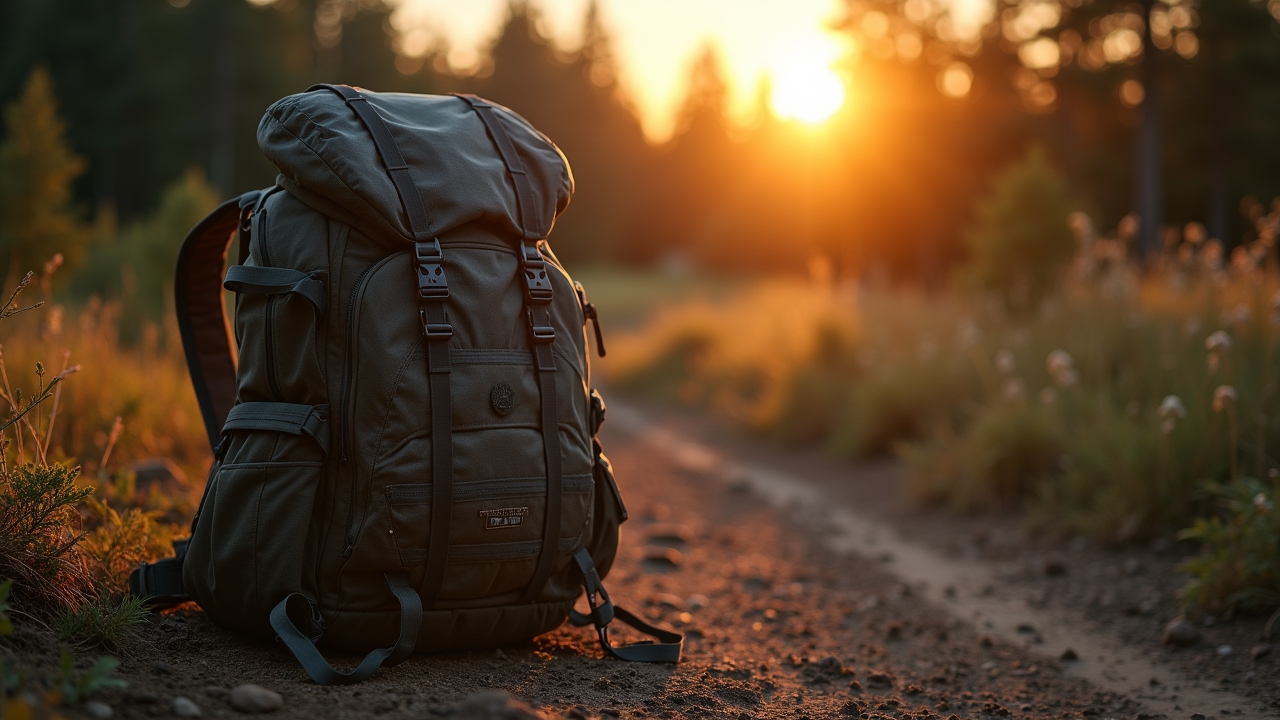
Rucking is simply walking with a weighted backpack — that’s it. The term comes from military training, where soldiers march long distances carrying heavy rucksacks. It’s been adopted by the fitness community because it’s low-impact but surprisingly effective for building strength and endurance.
Think of it as the middle ground between a leisurely stroll and a full-on hike with gear. You don’t need fancy equipment or a gym membership. Just a solid backpack, some weight, and a decent pair of shoes.
How I Got Started (And What I Did Wrong)
My first ruck was a disaster. I grabbed an old Jansport from college, stuffed 30 pounds of random dumbbells inside, and headed out for a 4-mile walk. By mile two, the straps were digging into my shoulders like razor blades, and I could feel the weights shifting around and slamming into my lower back with every step.
Lesson learned — start lighter than you think you need to. I’m talking 10 to 15 pounds for your first few sessions. Also, invest in a proper rucking backpack or at least use one with a hip belt and chest strap. Your shoulders will thank you later.
Building Your First Rucking Workout Plan
Here’s a beginner-friendly rucking program that I wish someone had handed me on day one:
- Week 1-2: 20-minute rucks with 10-15 lbs, 3 times per week
- Week 3-4: 30-minute rucks with 15-20 lbs, 3 times per week
- Week 5-6: 40-minute rucks with 20-25 lbs, 3-4 times per week
- Week 7-8: 45-60 minute rucks with 25-30 lbs, 3-4 times per week
The general rule of thumb is don’t increase both weight and distance at the same time. Pick one variable to progress each week. I made the mistake of going heavier AND longer simultaneously, and my knees were not happy about it for like a week straight.
Gear That Actually Matters
You don’t need to go crazy with gear, but a few things make a huge difference. A good pair of supportive boots or trail shoes is non-negotiable — regular running shoes are too soft and squishy for loaded walking.
Advertisements
For weight, you can use a ruck plate, sandbag, or even wrapped bricks if you’re on a budget. I started with bags of rice from the grocery store, and honestly that worked just fine. The key is making sure the weight sits high in the pack, close to your upper back, so it doesn’t pull you backwards.
Benefits You’ll Actually Notice
After about a month of consistent rucking, I noticed my posture was way better. Like, people at work were commenting on it. The loaded walking basically forces your core to engage the entire time, so it’s sneaky ab work without doing a single crunch.
Beyond that, rucking improves cardiovascular fitness, builds leg and back strength, and is way easier on your joints than running. It’s also weirdly meditative — something about walking with purpose and weight just clears my head better than almost anything else.
Lace Up and Hit the Road
Rucking is one of those rare workouts that’s simple enough for anyone but challenging enough to keep you progressing for years. Start light, increase gradually, and don’t skip on decent footwear. Most importantly, listen to your body — there’s no shame in dropping weight or cutting a ruck short if something feels off.
If you found this rucking workout guide helpful, go check out more fitness and outdoor content over at Pow Pow Charge. We’ve got tons of practical guides to keep you moving and crushing your goals!